This article is an archive from 2019
Archive: Flashing BLHeli S ESCs to work bidirectional
E/Xplorer uses brushless motors, which require ESCs (Electronic Speed Controllers). Most ESCs are designed for aerial applications such as drones and RC aircraft, where the motor only needs to rotate in one direction—aircraft don't need to fly in reverse. Fortunately, there are some reasonably priced ESCs that also allow reverse rotation. For the E/Xplorer AUV, we use BLHeli-type ESCs, which are the most widespread, affordable, and super reliable. This article is a short guide on how to flash them for so-called bidirectional operation.
What we need:
- Windows computer
- Arduino UNO, NANO, MEGA are best.
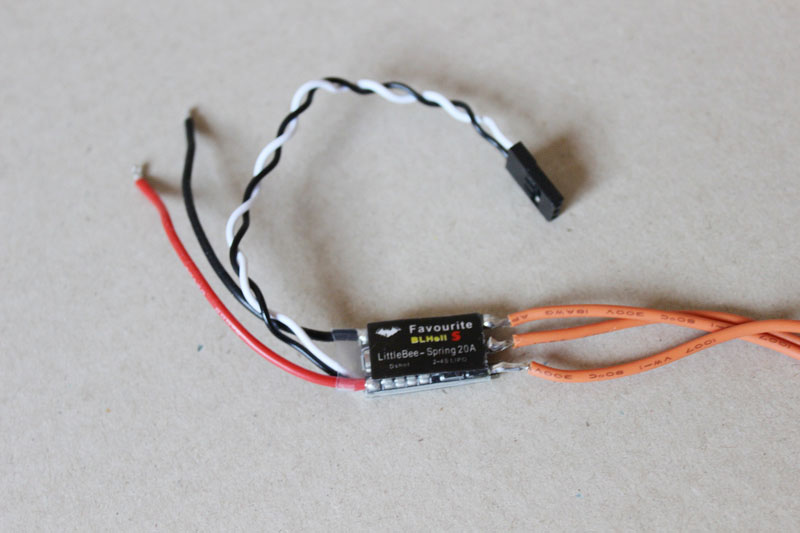
- BlHeli_S type ESC
- USB cable
- wires 2x
- LiPo Battery
- BlHeli Suite Software
As mentioned, you will not need a USB linker to interface your computer with the ESC. If you don't already own one, don't buy it—we're going to make our own using an ordinary Arduino.
1. Install BLHeli Suite
For a long time, BLHeli Suite was available only for Windows computers. So I managed to get an old Windows notebook for the job. Versions for MacOS and Linux—my favorite operating systems—did appear, but unfortunately I couldn't get them to run on my Ubuntu Desktop 18 and MacOS El Capitan in the early releases. I will try them again in the future and see if I make progress. Therefore, this guide shows the Windows setup.
https://blhelisuite.wordpress.com/ - No longer available
For the S-type ESCs suggested here, which do not have a 32-bit architecture, choose BLHeli_Suite, not BLHeli_32. Unzip the file and run the .exe.
2. Install Arduino IDE
If you have not already installed the Arduino IDE, do it. It will help activate needed ports without a headache.
3. Make Arduino Bootloader
First of all we need an interface. Connect Arduino Uno or Nano to the computer via USB cable. Start BLHeliSuite software and navigate to the "Make interface" tab:
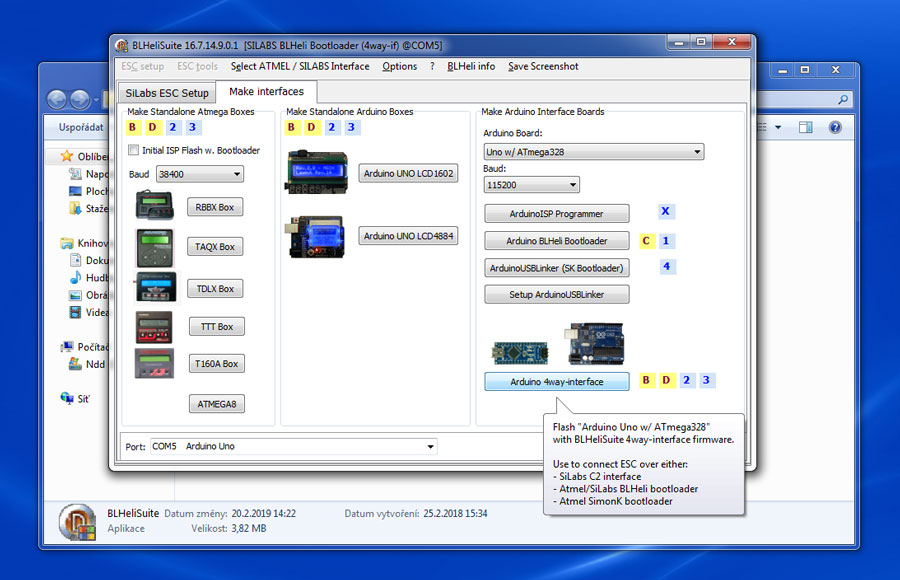
Choose Arduino 4way-interface
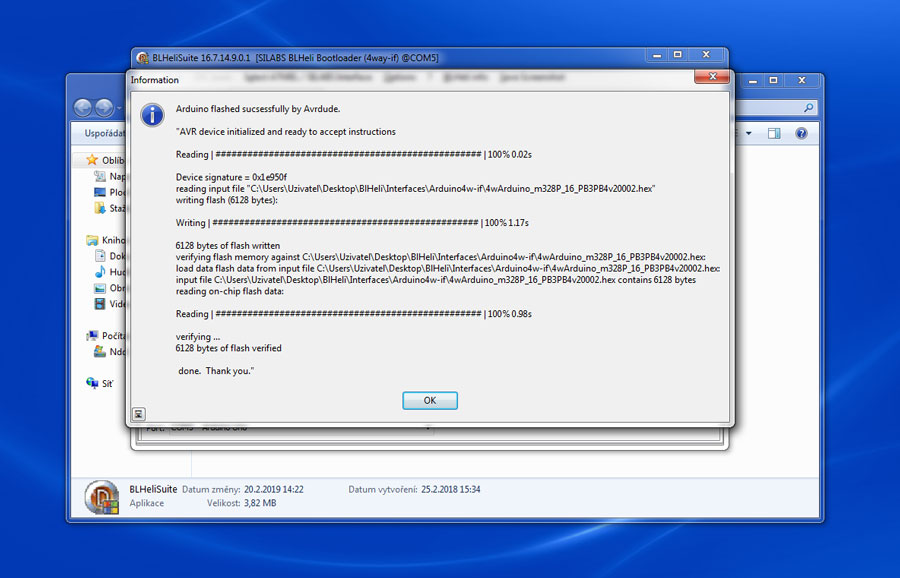
After the flash you should see this.
4. Connect ESC with Arduino and computer
For ESC 1 (single) connect the signal wire of the ESC with digital pin 11 on Arduino UNO / NANO. Ground to ground. ESC must be powered by a LiPo battery.
5. Choose the right driver
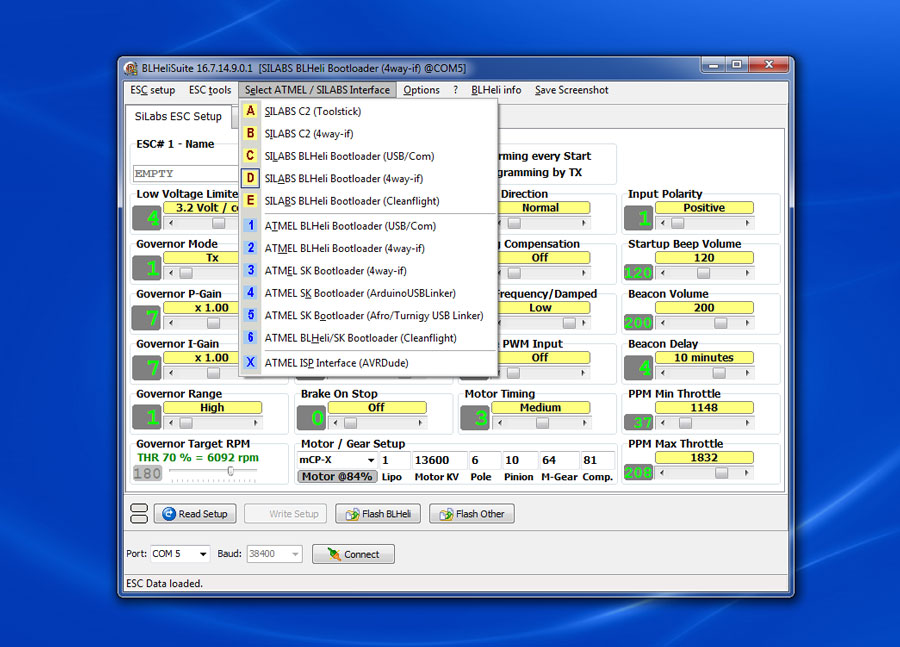
Choose the D-marked item from the dropdown menu - SILABS BLHeli Bootloader (4way-if)
6. Connect the ESC and get ESC settings
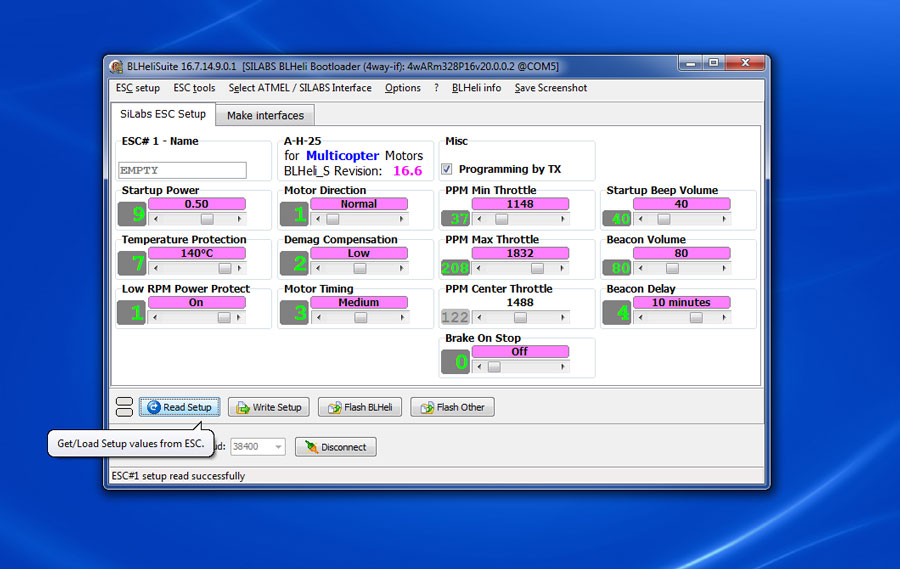
Choose the right (available) COM port (usually the same as you use with Arduino IDE) and click the CONNECT button. If the ESC becomes connected, click READ SETUP.
7. Set up settings for flashing ESC
In MOTOR DIRECTION choose BIDIRECTIONAL. You can change whatever other settings you want, but if you change the range of throttle for example, you should address it in the settings of the Arduino Dolphin sketches then.
8. Flash ESC
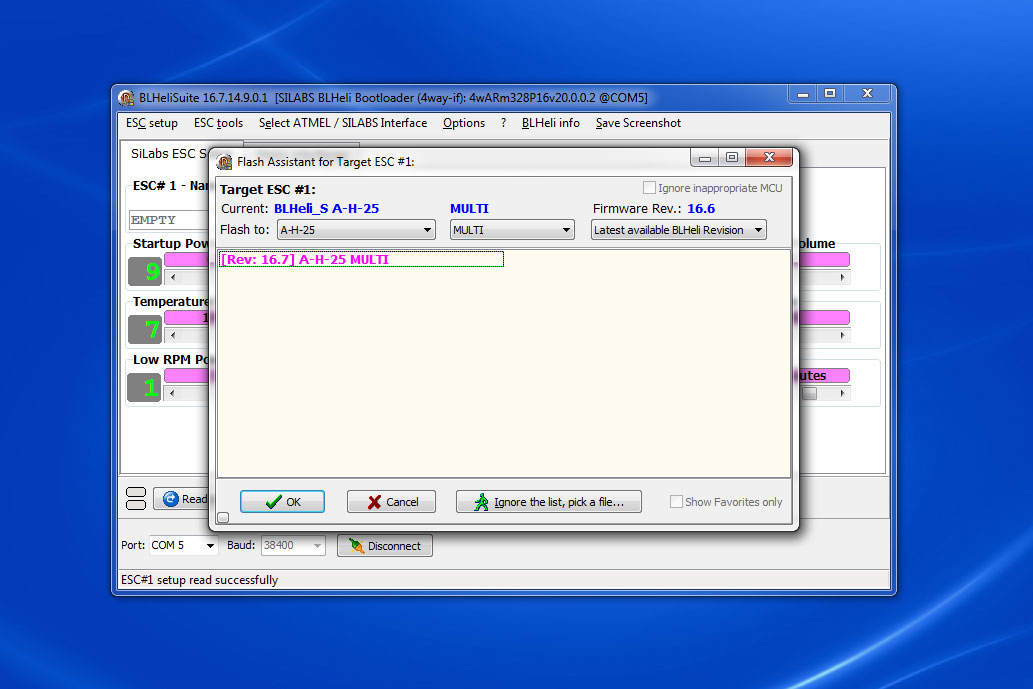
Flash ESC preferably with the Write setup button. This way the ESC's setup will be readable next time when you load settings again. You can flash it without writing settings by clicking Flash BLHeli as well. In the pop-up dialog choose what best suits you (and you have drivers for). I use the default settings which are shown in the image.
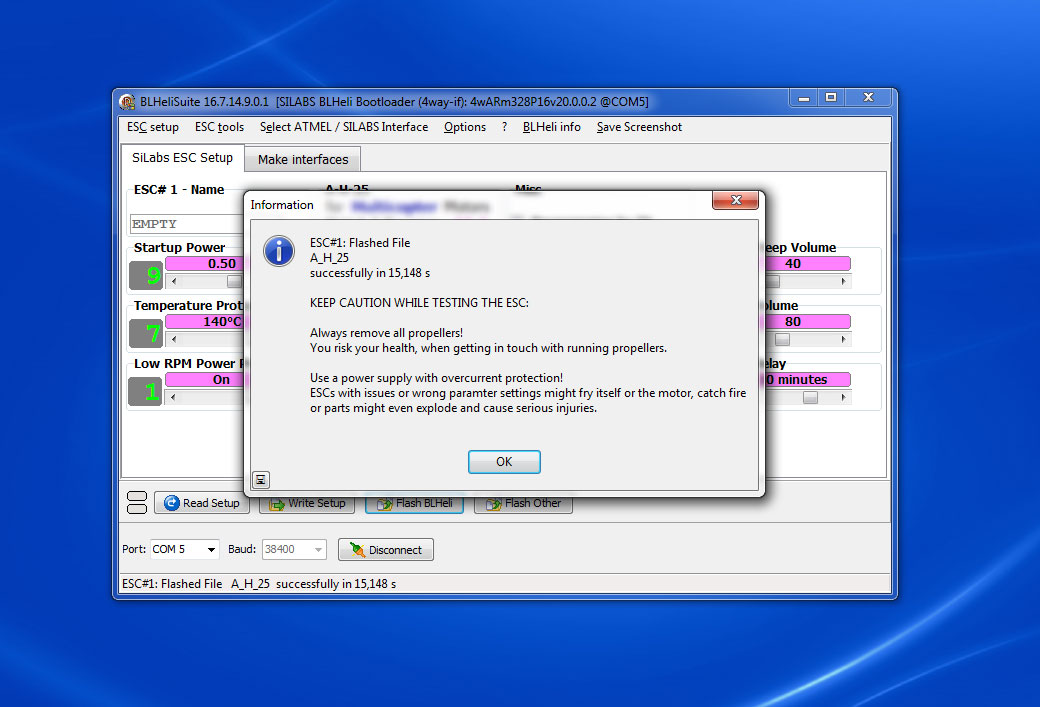
You should see this and when you click OK, you should see and click YES here:
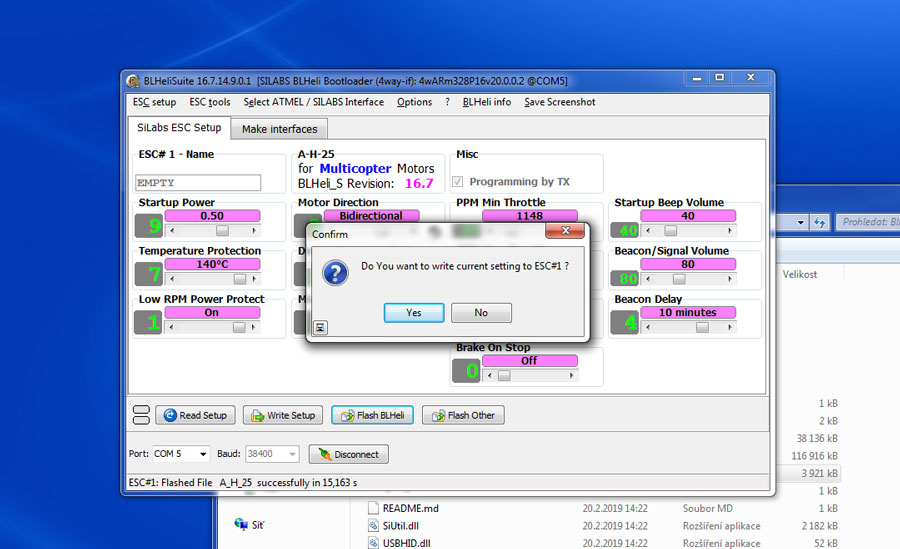
Links:
BlHeli at Github | https://github.com/bitdump/BLHeli/
BlHeli_32 configurator for MAC OS | BETA | Not tested by me | https://github.com/bitdump/BLHeli/files/3065289/BLHeliSuite32xLinux64_Beta_0903.zip
BlHeli_32 configurator for LINUX | Not tested by me | https://github.com/bitdump/BLHeli/files/3065289/BLHeliSuite32xLinux64_Beta_0903.zip
Tutorials I followed without success, but still contain useful information.
HOW TO FLASH BLHELI_S ESC FIRMWARE | https://oscarliang.com/flash-blheli-s-esc-firmware-fc-pass-through/